No Knead Gluten Free Bread – Effortless, Rustic, and Wonderfully Soft
If you’ve ever wished for an easy homemade gluten free bread that doesn’t require kneading, stretching, or a mixer, this No Knead Gluten Free Bread is the recipe you’ve been looking for. With a simple stir-and-bake method, this loaf delivers a golden crust, soft crumb, and that comforting, homemade aroma we all crave.
The best part? You can mix it in one bowl, let it rest, and bake it in a Dutch oven or loaf pan — no kneading, no hassle, and no tricky steps. It’s the kind of bread you’ll make again and again for sandwiches, breakfast toast, or alongside soups and stews.
Why You’ll Love This No Knead Gluten Free Bread
- No kneading required.
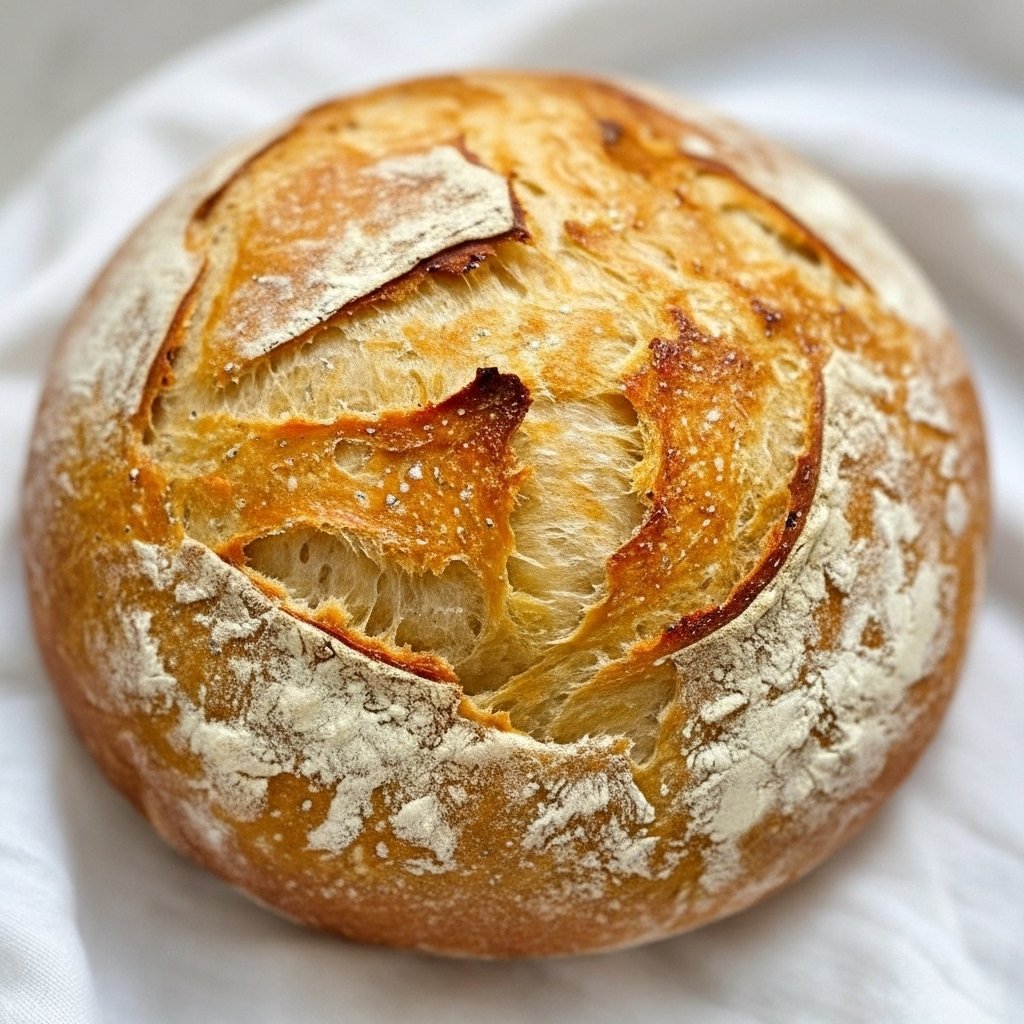
The dough rises on its own and develops a soft, chewy texture without the effort. - Perfectly crusty exterior.
The steam from the covered bake creates that rustic, bakery-style crust. - Simple ingredients, minimal effort.
Everything mixes in one bowl — ideal for beginner bakers or busy cooks. - Soft, airy texture.
The inside stays light and tender instead of dense or gummy. - Freezer-friendly.
Make a few loaves ahead of time and enjoy homemade bread anytime.
Ingredients
- 3 cups gluten free all-purpose flour blend (with xanthan gum)
- 2 teaspoons instant yeast
- 1 ½ teaspoons salt
- 1 tablespoon sugar or honey
- 1 ½ cups warm water (around 110°F)
- 1 tablespoon olive oil or melted butter
- 1 teaspoon apple cider vinegar (for better rise and texture)
Instructions
- Prepare the Dough:
In a large bowl, combine the gluten free flour, yeast, salt, and sugar. Stir to mix. Add the warm water, olive oil, and vinegar. Mix with a spoon until a thick, sticky dough forms — no need to knead. - Let It Rise:
Cover the bowl with plastic wrap or a clean towel and let it rest in a warm place for about 1 to 1½ hours, or until it doubles in size and looks puffy. - Preheat the Oven:
If using a Dutch oven, place it (with the lid on) in the oven and preheat to 425°F (220°C). Let it heat for at least 30 minutes before baking. - Shape the Dough:
Lightly flour a piece of parchment paper and scrape the dough onto it. Shape it gently into a round or oval loaf using wet hands. Don’t worry if it looks rustic — that’s part of the charm. - Bake:
Carefully transfer the dough (with parchment) into the hot Dutch oven. Cover with the lid and bake for 40 minutes. Remove the lid and bake another 10–15 minutes until golden brown and crisp. - Cool:
Remove the bread and let it cool completely on a wire rack before slicing. This helps the crumb set and prevents gumminess.
Tips for Perfect Gluten Free Bread
- Use a high-quality gluten free flour blend that already includes xanthan gum for best texture.
- Don’t skip the vinegar — it helps improve elasticity and rise.
- The dough will be sticky — resist adding too much extra flour.
- Let the bread cool fully before cutting; slicing early can make it dense.
Flavor Variations
- Herb & Garlic Loaf: Add 1 teaspoon each of dried oregano, rosemary, and garlic powder.
- Cheesy Bread: Stir in ½ cup shredded mozzarella or cheddar before baking.
- Seeded Crust: Sprinkle the top with sesame or sunflower seeds before baking for extra crunch.
Serving Suggestions
- Serve warm with butter and honey for a simple breakfast.
- Use it for sandwiches, bruschetta, or as a side with soups and salads.
- Toast slices and top with mashed avocado or nut butter for a quick snack.
Storage & Freezing
- Room Temperature: Store in an airtight container for up to 2 days.
- Refrigerate: Keeps up to 5 days when wrapped tightly.
- Freeze: Slice and freeze for up to 3 months. Toast slices directly from frozen.
Troubleshooting
- Dense texture? The dough may not have risen long enough. Let it double in size before baking.
- Gummy inside? Slice only after the bread has fully cooled.
- Pale crust? Remove the lid earlier or bake uncovered for the final 15 minutes.
FAQs
Can I make this without a Dutch oven?
Yes — bake it in a regular loaf pan. Place a tray of hot water in the oven to mimic steam for a crustier exterior.
Can I use active dry yeast instead of instant yeast?
Absolutely. Just dissolve it in the warm water with sugar first and let it sit for 10 minutes before mixing into the dry ingredients.
Does this bread taste like traditional wheat bread?
It has a similar soft texture and neutral flavor, making it perfect for any toppings or spreads.
This No Knead Gluten Free Bread proves that making fresh, homemade bread doesn’t have to be complicated. With just a few minutes of mixing and some patience while it rises, you can enjoy bakery-quality results in your own kitchen — no kneading required.