Gluten Free Pizza Dough – Cozy, Hearty, and Bursting with Italian Flavor
If you’ve ever dreamed of biting into a soft, chewy, golden pizza crust that just happens to be gluten free — this recipe is for you. With the perfect balance of structure, flavor, and flexibility, this gluten free pizza dough delivers restaurant-quality results right in your own kitchen. It’s simple, reliable, and customizable for any type of pizza night — from classic Margherita to loaded veggie supreme.
Whether you’re new to gluten free baking or an experienced home cook, this dough is foolproof. It stretches easily, bakes beautifully, and tastes like real pizza — not a dry or crumbly substitute. With a few simple ingredients and the right technique, you can finally make pizza that everyone at the table will love.
Why You’ll Love This Gluten Free Pizza Dough
- Crispy edges with a soft, chewy interior.
No dense or soggy crusts here — the combination of gluten free flours and olive oil creates the ideal texture. - Simple ingredients you probably already have.
No need for complicated blends or hard-to-find starches — this dough uses common pantry staples. - Versatile base for any pizza style.
Works perfectly for thin crust, deep dish, or even grilled pizza. - Freezer-friendly and make-ahead.
You can prepare the dough in advance, freeze it, and have pizza night ready in minutes. - Tastes like real pizza.
With a balanced flavor and soft chew, even gluten eaters will be impressed.
Ingredients
For the Dough:
- 2 cups gluten free all-purpose flour blend (with xanthan gum)
- 2 teaspoons instant yeast
- 1 teaspoon sugar
- 1 teaspoon salt
- 1 teaspoon baking powder
- ¾ cup warm water (about 110°F)
- 1 tablespoon olive oil (plus more for brushing)
- 1 teaspoon apple cider vinegar
Optional for Extra Flavor:
- ½ teaspoon garlic powder
- ½ teaspoon dried oregano or Italian seasoning
For Topping (as desired):
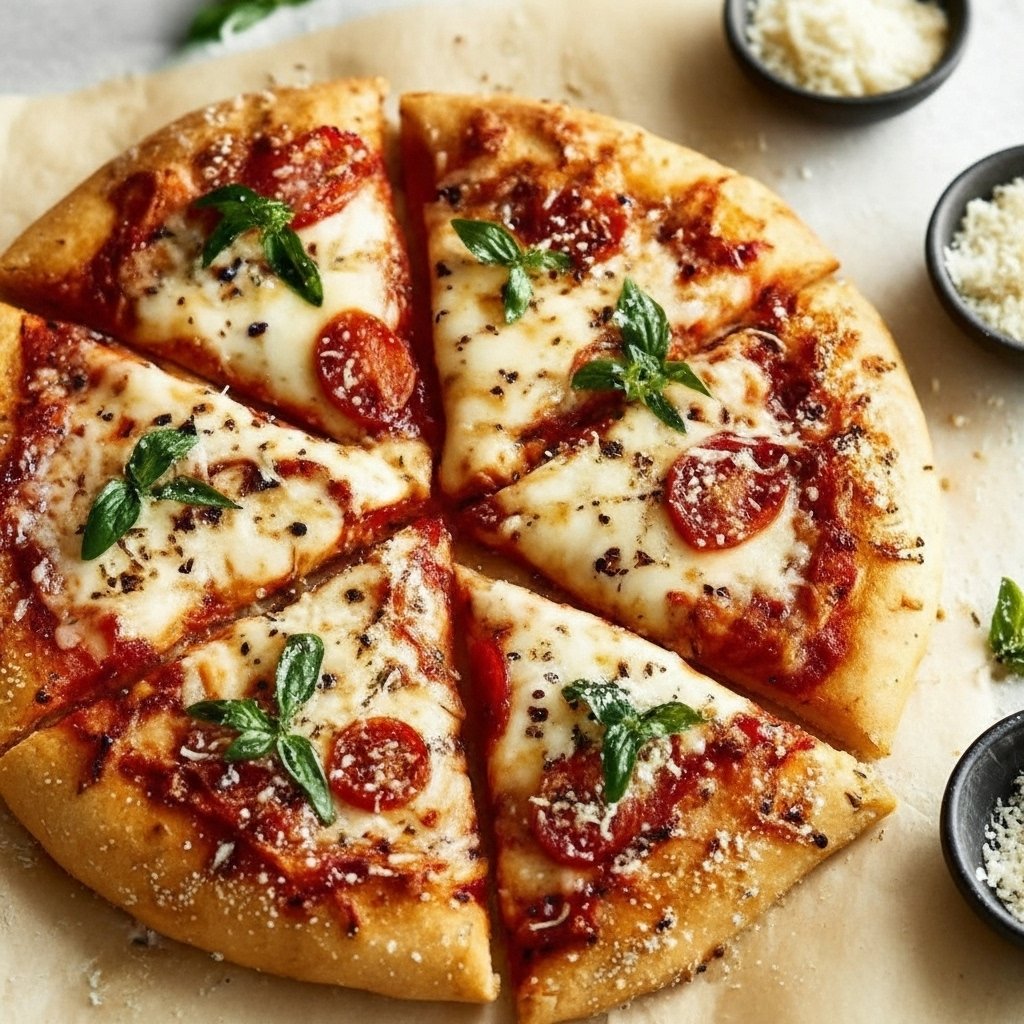
- ½ cup pizza sauce
- 1 cup shredded mozzarella cheese
- Toppings of choice (pepperoni, mushrooms, bell peppers, olives, etc.)
Step-by-Step Instructions
1. Activate the Yeast
In a small bowl, combine the warm water, sugar, and yeast. Stir gently and let it sit for about 5–7 minutes until the mixture becomes foamy on top. This step ensures your yeast is active, giving your dough a good rise and flavor.
2. Mix the Dry Ingredients
In a large mixing bowl, whisk together the gluten free flour blend, salt, baking powder, and optional seasonings. Mixing the dry ingredients well ensures even distribution before adding liquids.
3. Combine Wet and Dry Mixtures
Pour the activated yeast mixture, olive oil, and apple cider vinegar into the dry ingredients. Using a spatula or the dough hook of a stand mixer, combine until a soft dough forms. The dough should be slightly sticky but hold together — if it’s too dry, add 1–2 tablespoons of warm water.
4. Knead Gently
Gluten free doughs don’t require heavy kneading since there’s no gluten to develop. Knead for just 1–2 minutes to fully combine and smooth the dough. It should be soft and elastic-like.
5. Let It Rise
Lightly oil the bowl, place the dough inside, and cover it with plastic wrap or a clean kitchen towel. Let it rise in a warm place for 30–45 minutes, or until slightly puffy. It won’t double like traditional dough, but it should feel lighter.
6. Preheat the Oven
Preheat your oven to 425°F (220°C). If you have a pizza stone, place it in the oven while preheating for a crispier crust.
7. Shape the Dough
Place a piece of parchment paper on your work surface and lightly dust it with gluten free flour. Roll or press the dough into a 10–12 inch circle for a medium pizza. For a thicker crust, shape a smaller circle.
8. Pre-Bake the Crust
Transfer the dough (with parchment) to a baking sheet or hot pizza stone. Bake for 8–10 minutes until the surface looks set and slightly golden. Pre-baking helps prevent a soggy middle when adding toppings.
9. Add Toppings
Remove the crust from the oven. Spread pizza sauce evenly over the surface, then sprinkle with cheese and add your favorite toppings.
10. Bake Until Golden
Return to the oven and bake for another 10–12 minutes, or until the crust edges are golden brown and the cheese is melted and bubbly.
11. Cool and Slice
Allow the pizza to cool for 5 minutes before slicing. This helps the crust set and makes slicing easier.
Tips for Success
- Use a flour blend with xanthan gum.
It gives the dough its stretch and chewiness. If your blend doesn’t include it, add 1 teaspoon of xanthan gum per 2 cups of flour. - Warm water is key.
Too hot will kill the yeast, too cold won’t activate it. Aim for about 110°F. - Pre-bake before topping.
Gluten free doughs benefit from a partial bake to prevent soggy centers. - Avoid over-mixing.
Mix just until smooth — overworking can make the dough dense. - Oil your hands when handling.
The dough can be sticky, so light oiling helps shape it easily.
Flavor Variations
- Herb-Infused Crust: Add 1 teaspoon of Italian seasoning and a pinch of garlic powder to the dough.
- Cheese-Stuffed Crust: Roll small mozzarella sticks into the edges before baking.
- Whole Grain Version: Replace ¼ cup of the flour blend with certified gluten free oat flour for extra flavor.
- Garlic Butter Crust: Brush the edges with melted butter and garlic powder before baking.
- Spicy Kick: Add a pinch of crushed red pepper flakes to the dough for subtle heat.
Serving Suggestions
- Classic Margherita: Tomato sauce, mozzarella, and fresh basil.
- BBQ Chicken Pizza: BBQ sauce, shredded chicken, red onions, and smoked gouda.
- Veggie Delight: Bell peppers, mushrooms, spinach, and olives.
- White Pizza: Ricotta, garlic oil, spinach, and mozzarella.
- Breakfast Pizza: Scrambled eggs, bacon, and cheddar.
Pair your pizza with a crisp salad, sparkling water, or your favorite Italian beverage for a complete meal.
Storage and Make-Ahead Tips
- Refrigerator: Store leftover pizza in an airtight container for up to 3 days. Reheat in the oven at 375°F for 5–7 minutes.
- Freezer: Wrap unbaked dough tightly in plastic and freeze for up to 2 months. Thaw overnight in the fridge before baking.
- Make Ahead: Prepare the dough, let it rise, then refrigerate for up to 24 hours before baking.
For meal prep, shape the dough into crusts, par-bake them, and freeze. When ready, add toppings and bake directly from frozen.
Troubleshooting
- Dough too sticky: Add a tablespoon of flour at a time until manageable.
- Dough too dry: Mix in a teaspoon of warm water until soft.
- Flat crust: Yeast may be expired or water was too hot.
- Gummy center: Ensure you pre-bake the crust and don’t overload with sauce.
- Overbrowned cheese: Move pizza to a lower oven rack or cover with foil near the end.
Frequently Asked Questions
Can I make this without yeast?
Yes — substitute 2 teaspoons of baking powder for the yeast and skip the rising time. The texture will be more biscuit-like but still delicious.
Can I use almond or coconut flour?
No, not as a direct substitute. These flours absorb moisture differently and require specific recipes.
Can I grill this dough?
Yes — pre-bake slightly, then grill on medium heat for 2–3 minutes per side.
How do I make it dairy-free?
Simply use olive oil instead of butter and dairy-free cheese for topping.
Can I use this dough for calzones or breadsticks?
Absolutely. Shape, fill, and bake just like regular dough — it’s a versatile base for many dishes.
Final Thoughts
Making homemade gluten free pizza dough is simpler than you might think — and the results are far better than store-bought crusts. With its perfect balance of chew, crispness, and flavor, this recipe proves that gluten free pizza can be every bit as satisfying as the classic version.
Whether you prefer a classic Margherita, a bold BBQ chicken, or a veggie-packed delight, this dough provides the perfect foundation for your creativity. Once you try it, you’ll never go back to packaged gluten free crusts again.
Pizza night just got a lot more exciting — and 100% gluten free.