Garden Herb Cheese Ball
If you’re looking for a delightful appetizer that combines creamy richness with the fresh, vibrant flavors of a garden, the Garden Herb Cheese Ball is your go-to recipe. This classic cheese ball takes the party by storm with its unique blend of tangy cheeses and aromatic fresh herbs, creating a stunning centerpiece that’s as beautiful as it is delicious. Whether you’re hosting a holiday gathering, a casual get-together, or simply want to elevate your snack game, this cheese ball offers an inviting burst of flavor that everyone will adore.
What makes this Garden Herb Cheese Ball stand out is its perfect balance between creamy texture and fresh herbal notes, complimented by a crunchy coating that you can tailor with your favorite nuts or seeds. The recipe is incredibly easy to prepare and can be made ahead of time, making it a convenient yet sophisticated addition to any appetizer spread. This recipe celebrates simplicity and freshness, proving that with a few quality ingredients and a bit of love, you can create a memorable dish that is both comforting and elegant.
Ingredients
- 8 oz (225g) cream cheese, softened
- 1 cup (120g) shredded sharp cheddar cheese
- 1/4 cup (25g) finely chopped green onions (scallions)
- 2 tablespoons fresh parsley, finely chopped
- 2 tablespoons fresh chives, finely chopped
- 1 tablespoon fresh dill, finely chopped
- 1/2 teaspoon garlic powder
- 1/4 teaspoon salt
- 1/4 teaspoon black pepper
- 1/2 cup (50g) chopped pecans or walnuts (for coating)
- Optional: fresh garden herbs for garnish
Instructions
- In a large mixing bowl, combine the softened cream cheese and shredded sharp cheddar cheese. Use a hand mixer or spoon to blend until smooth and creamy.
- Add the finely chopped green onions, parsley, chives, and dill to the cheese mixture. Mix thoroughly until the herbs are evenly distributed.
- Sprinkle in the garlic powder, salt, and black pepper to the bowl. Stir well to incorporate all the seasonings.
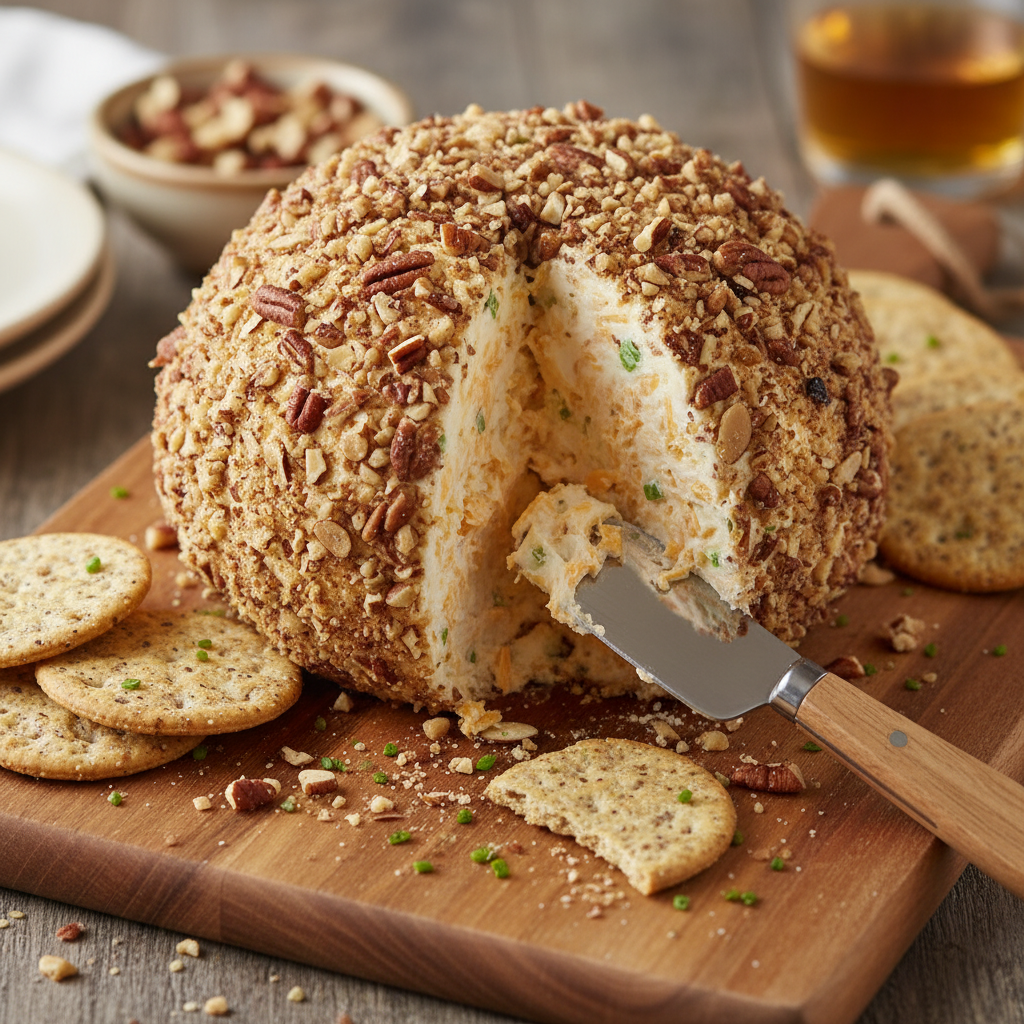
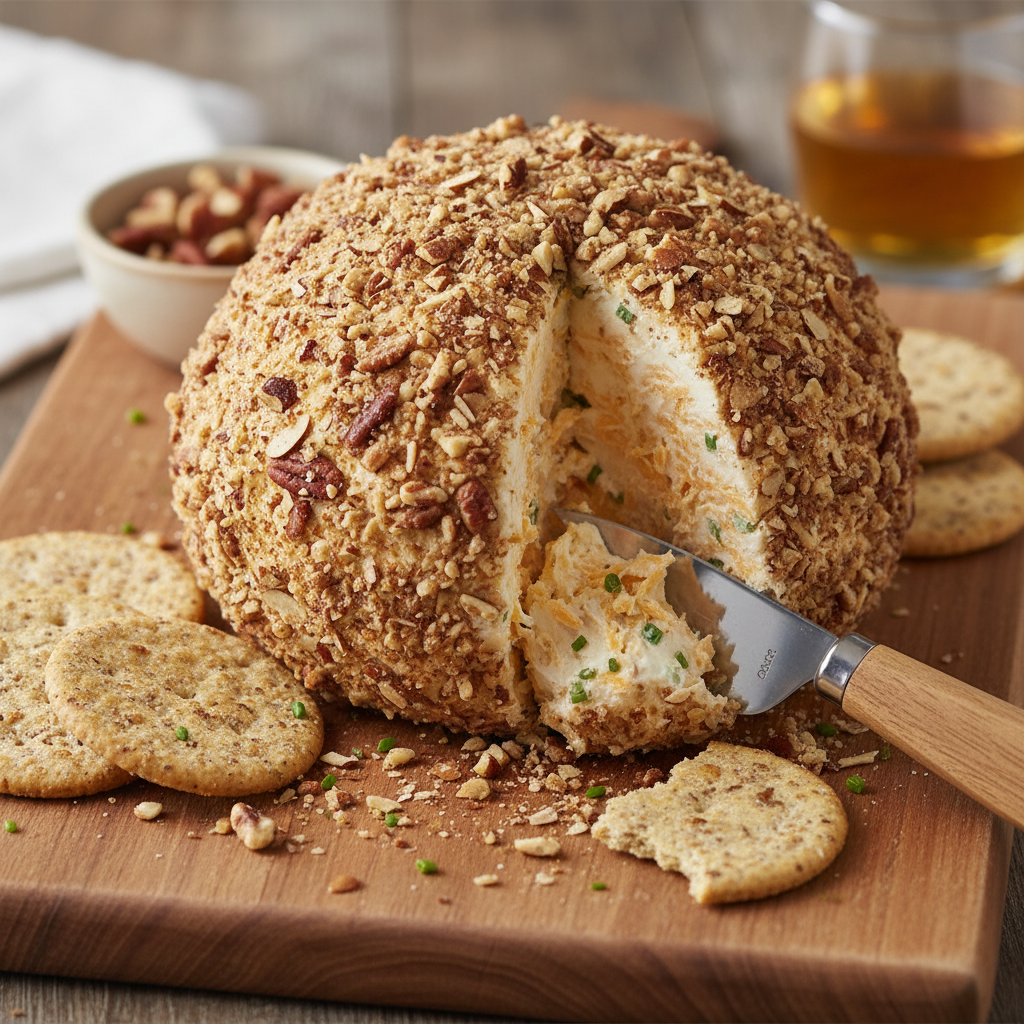
- Using your hands, shape the cheese mixture into a tight ball approximately 6 inches (15 cm) in diameter. Press firmly to ensure it holds together.
- Place the chopped pecans or walnuts in a shallow dish. Roll the cheese ball in the nuts, pressing gently so the nuts adhere to the surface and cover the entire ball.
- Wrap the cheese ball tightly in plastic wrap and refrigerate for at least 2 hours, or preferably overnight. This helps the flavors meld and the ball to firm up.
- About 15 minutes before serving, remove the cheese ball from the refrigerator to take off the chill and soften slightly for easier spreading.
- Place the cheese ball on a serving plate. Garnish with additional fresh herbs if desired. Serve with assorted crackers, sliced baguette, or fresh vegetables for dipping.
Recipe Information
- Prep time: 15 minutes
- Chill time: 2 hours
- Total time: 2 hours 15 minutes
- Servings: 8-10
- Difficulty Level: Easy
Tips & Variations
- Soften the cream cheese fully before mixing to ensure a smooth and creamy texture.
- Feel free to use a mix of fresh herbs that you enjoy or have on hand; basil, tarragon, or thyme are great alternatives.
- For a different texture and flavor, experiment with coating the cheese ball in finely chopped olives, dried cranberries, or smoked paprika instead of nuts.
- This cheese ball can be made a day ahead, making it perfect for entertaining.
- Store leftovers tightly wrapped in the refrigerator and consume within 3-4 days for best freshness.
Nutritional Information (per serving)
- Calories: approximately 180
- Protein: 5g
- Carbohydrates: 3g
- Fat: 16g
- Fiber: 1g
Conclusion
Don’t hesitate to try this Garden Herb Cheese Ball at your next gathering or cozy night in. Its creamy texture combined with fresh herbs and crunchy coating will surely win over guests and family alike. Pair it with a crisp white wine or a light beer, along with an assortment of crackers and fresh vegetables, for a truly inviting appetizer spread.
If you enjoyed this recipe, please share your thoughts and any variations you tried in the comments below. Cooking is all about sharing and experimenting, so let’s keep the delicious inspiration flowing!