Dill Pickle Cheese Ball: The Perfect Tangy and Creamy Appetizer
If you’re a fan of tangy, creamy, and savory appetizers, the Dill Pickle Cheese Ball is a must-try recipe that will quickly become a favorite at your gatherings. This retro-inspired cheese ball combines the zing of dill pickles with the rich creaminess of cheese, creating a perfect bite-sized indulgence that’s both nostalgic and delightfully fresh. Whether you’re hosting a party, bringing a dish to a potluck, or just snacking at home, this cheese ball offers that irresistible charm that everyone reaches for first.
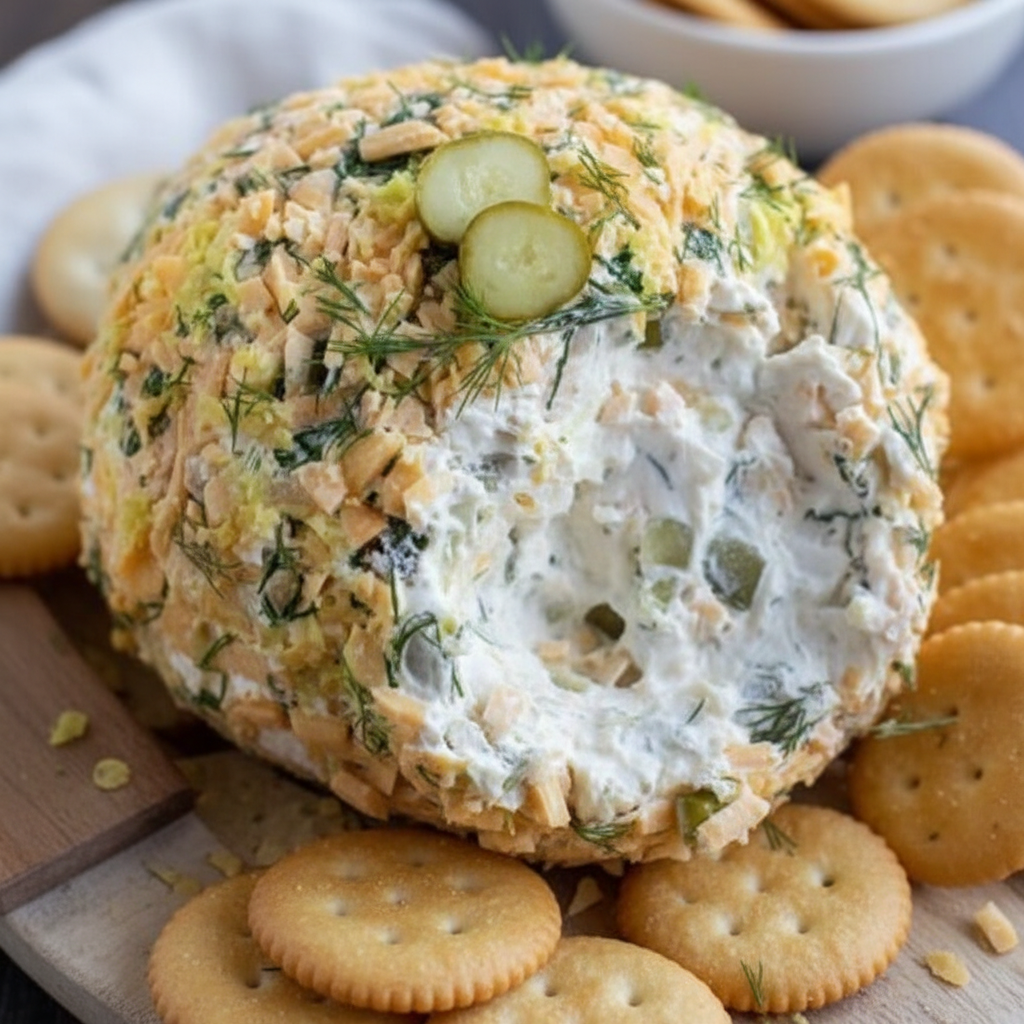
The Dill Pickle Cheese Ball stands out because of its unique blend of flavors and textures. Instead of relying on typical cheese ball ingredients, this recipe features chopped dill pickles and a hint of garlic that add a lively punch, balanced beautifully with cream cheese and shredded cheddar. The rolling of the cheese ball in crunchy chopped nuts or fresh dill not only enhances the flavor but gives it an attractive rustic look. Its simplicity and flavor-packed profile make it an easy yet impressive appetizer to whip up any time.
Ingredients
- 8 ounces (225g) cream cheese, softened
- 1 1/2 cups (170g) shredded sharp cheddar cheese
- 1/2 cup (75g) finely chopped dill pickles, drained
- 1 tablespoon pickle juice (optional, for extra tang)
- 1 teaspoon garlic powder
- 1/4 teaspoon onion powder
- 1/4 teaspoon black pepper
- 1/4 cup (30g) finely chopped fresh dill (plus extra for garnish)
- 1/2 cup (60g) chopped pecans or walnuts (optional, for coating)
Instructions
- In a large mixing bowl, combine the softened cream cheese and shredded cheddar cheese using a hand mixer or wooden spoon until smooth and well blended.
- Add the finely chopped dill pickles, garlic powder, onion powder, black pepper, and optional pickle juice to the cheese mixture.
- Mix all ingredients thoroughly until evenly combined. This mixture should be flavorful and slightly tangy from the pickles.
- Lay out a piece of plastic wrap on your work surface. Spoon the cheese mixture onto the center and shape it into a ball with your hands, wrapping the plastic wrap tightly around it.
- Refrigerate the shaped cheese ball for at least 2 hours, or until firm. This step helps the flavors meld and makes the cheese ball easier to handle.
- If using, place the chopped pecans or walnuts on a plate and mix with the chopped fresh dill.
- Remove the cheese ball from the refrigerator and unwrap it. Roll the cheese ball in the nut and dill mixture until fully coated, pressing gently so the coating sticks well.
- Place the finished cheese ball on a serving plate and garnish with extra fresh dill if desired. Serve with crackers, sliced baguette, or fresh veggies for dipping.
Recipe Information
- Preparation time: 15 minutes
- Chilling time: 2 hours
- Total time: Approximately 2 hours and 15 minutes
- Servings: 8-10 servings
- Difficulty level: Easy
Tips & Variations
- Ensure the cream cheese is softened to room temperature for easier mixing and a smoother texture.
- For a spicier kick, add a pinch of cayenne pepper or some finely chopped jalapeños to the mixture.
- Substitute the cheddar with smoked gouda or pepper jack for a different flavor profile.
- To make it nut-free, coat the cheese ball in extra chopped dill or crushed pretzels.
- Make the cheese ball a day in advance to let the flavors develop fully. Keep tightly wrapped in the refrigerator.

Nutritional Information (per serving, approximate)
- Calories: 180
- Protein: 6g
- Carbohydrates: 3g
- Fat: 16g
- Fiber: 0.5g
Conclusion
The Dill Pickle Cheese Ball is a delightful appetizer that brings together the perfect balance of creamy, tangy, and savory flavors. It’s easy to make, visually appealing, and sure to be a hit at any gathering or casual snack time. Give this recipe a try and watch it disappear quickly off the snack table!
Serve it with your favorite crackers, crusty bread, or fresh vegetable sticks for dipping. Don’t forget to share your experience and any creative twists you add in the comments below! Happy snacking!