Crumbl Red Velvet White Chocolate Chip Cookies
If you’re a fan of sweet, indulgent treats, Crumbl Red Velvet White Chocolate Chip Cookies are about to become your new favorite. These cookies combine the classic, velvety richness of red velvet cake with melty white chocolate chips that add bursts of creamy sweetness in every bite. Made popular by Crumbl Cookies, these cookies have a cult following for their unique flavor and irresistibly soft texture.
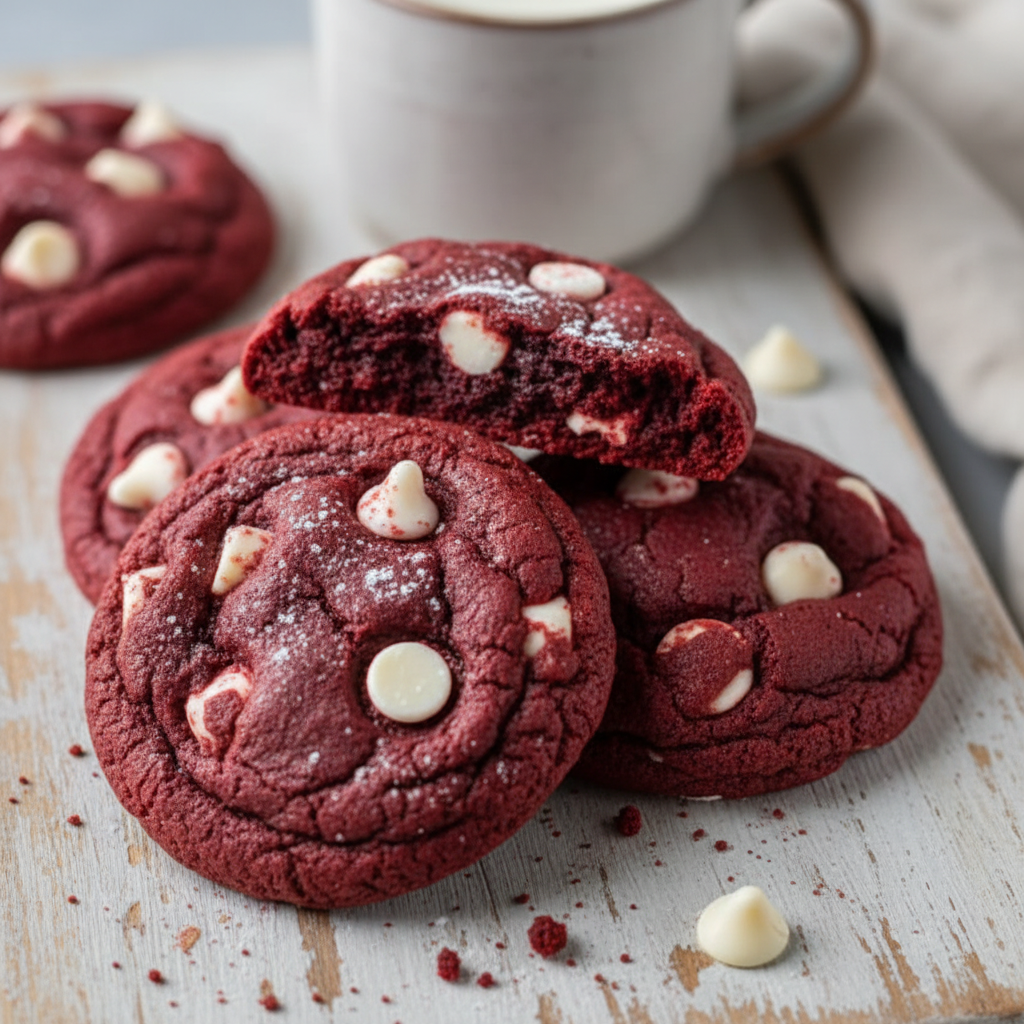
What makes this recipe truly special is how it captures the essence of red velvet — the subtle cocoa flavor, the slight tang from buttermilk, and that vivid red hue — all in cookie form. The addition of luscious white chocolate chips adds a delightful contrast, making each cookie a perfect blend of cake-like softness and chewy cookie goodness. Whether you’re baking for a special occasion or just because you’re craving something decadent, this recipe will elevate your cookie game.

Ingredients
- 1 cup (226g) unsalted butter, softened
- 1 cup (200g) granulated sugar
- 1/2 cup (100g) brown sugar, packed
- 2 large eggs
- 1 teaspoon vanilla extract
- 2 tablespoons red food coloring
- 1 tablespoon cocoa powder, unsweetened
- 2 1/2 cups (312g) all-purpose flour
- 1 teaspoon baking soda
- 1/2 teaspoon salt
- 1/2 cup (120ml) buttermilk
- 1 1/2 cups (260g) white chocolate chips
Instructions
- Preheat your oven to 350°F (175°C). Line baking sheets with parchment paper or silicone baking mats for easy cleanup.
- In a large mixing bowl, cream together the softened butter, granulated sugar, and brown sugar until light and fluffy. This usually takes about 3-4 minutes using an electric mixer on medium speed.
- Add the eggs, one at a time, beating well after each addition. Then mix in the vanilla extract and red food coloring until fully incorporated.
- In a separate bowl, whisk together the cocoa powder, all-purpose flour, baking soda, and salt.
- Gradually add the dry ingredients to the wet mixture alternately with the buttermilk, beginning and ending with the dry ingredients. Mix just until combined to avoid overmixing which can toughen the cookies.
- Fold in the white chocolate chips gently with a spatula, ensuring they are evenly distributed throughout the dough.
- Scoop the dough onto the prepared baking sheets using a cookie scoop or tablespoon, spacing them about 2 inches apart as they will spread slightly during baking.
- Bake for 10-12 minutes or until the edges are set but the centers still look soft. Be careful not to overbake to keep the cookies chewy and moist.
- Allow the cookies to cool on the baking sheets for 5 minutes before transferring them to a wire rack to cool completely.
- Enjoy your soft, chewy Crumbl Red Velvet White Chocolate Chip Cookies with a cold glass of milk or your favorite hot beverage!
Recipe Information
- Prep time: 15 minutes
- Cook time: 10-12 minutes
- Total time: 25-30 minutes
- Servings: Makes about 24 cookies
- Difficulty level: Easy to Moderate
Tips & Variations
- Use room temperature butter and eggs to ensure ingredients blend well and cookies have a tender crumb.
- For a more pronounced red velvet flavor, do not skip the cocoa powder—it’s essential for that subtle chocolate taste.
- Avoid overmixing the dough to keep the cookies soft and chewy, not tough.
- If you prefer thicker cookies, chill the dough for 30 minutes before baking.
- Store cookies in an airtight container at room temperature for up to 4 days or freeze for longer storage.
Nutritional Information (per cookie, approximate)
- Calories: 180 kcal
- Protein: 2 g
- Carbohydrates: 25 g
- Fat: 8 g
- Fiber: 1 g
Conclusion
Crumbl Red Velvet White Chocolate Chip Cookies are a delightful way to enjoy the flavors of red velvet in a portable, shareable form. Their soft, chewy texture paired with the sweet bursts of white chocolate chips is sure to please any sweet tooth, whether for a casual snack or a special celebration.
Try baking these cookies today and pair them with a glass of cold milk, a cup of coffee, or tea for an irresistible treat. Don’t forget to share your baking adventures and any tweaks you make in the comments below — happy baking!