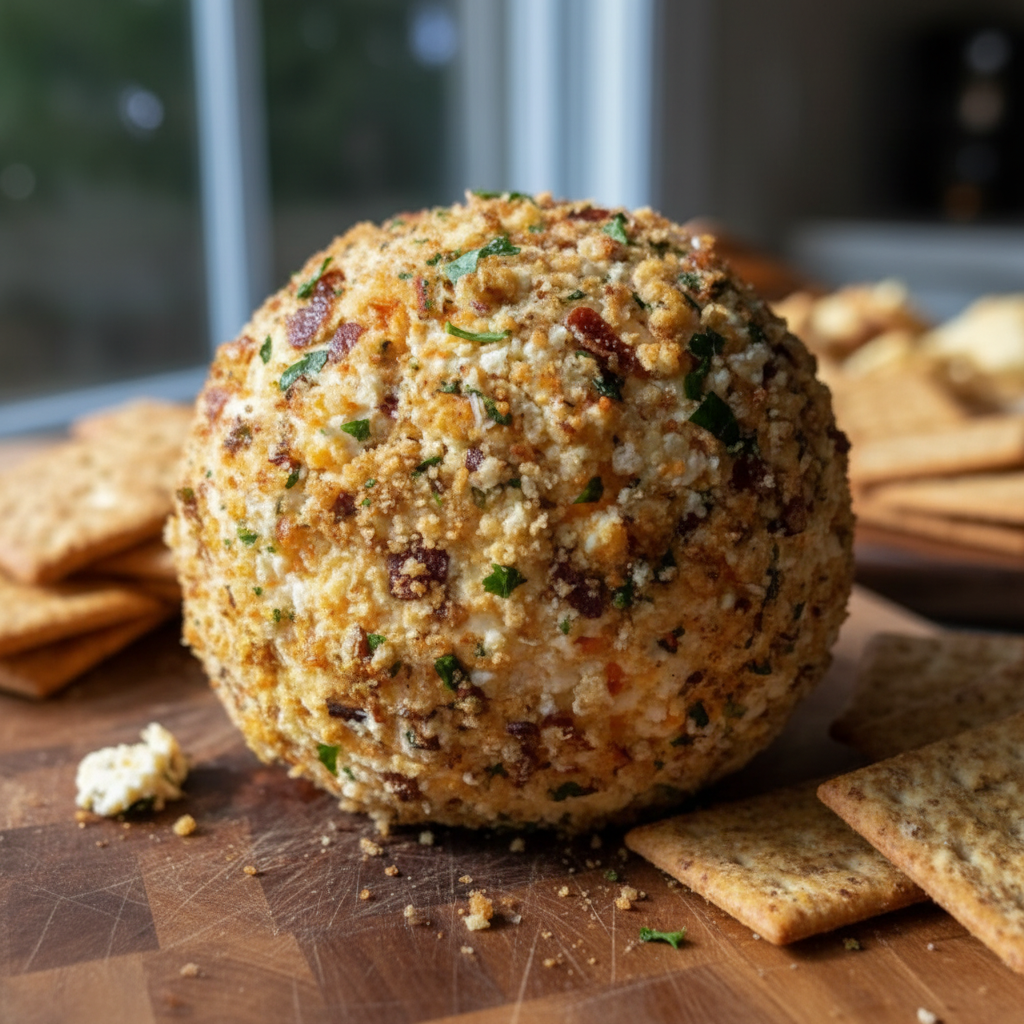
Classic Cheese Ball – Creamy, Savory, and Perfect for Any Occasion
Few appetizers are as crowd-pleasing and timeless as a Classic Cheese Ball. Creamy, flavorful, and rolled in crunchy chopped nuts, this easy recipe is a must-have for parties, holidays, or casual gatherings. With its rich blend of cheeses and seasonings, it pairs perfectly with crackers, vegetables, or even pretzels.
Whether you’re hosting a holiday dinner, a game day get-together, or simply craving something indulgent to snack on, this homemade cheese ball delivers the perfect mix of creamy, tangy, and savory flavors. It’s also a make-ahead dream — prepare it the night before and let it chill until guests arrive.
This classic recipe is endlessly customizable too — you can add herbs, bacon, dried fruit, or spices to suit any occasion. It’s easy, elegant, and guaranteed to disappear fast.

Why You’ll Love This Classic Cheese Ball
1. Easy to make ahead
You can prepare the cheese ball up to two days in advance — it actually tastes better as the flavors meld together.
2. Perfect for parties
A single cheese ball serves a crowd, making it ideal for gatherings, holidays, and potlucks.
3. Creamy and flavorful
The combination of cream cheese and shredded cheddar gives a perfect balance of smoothness and sharpness.
4. Customizable
You can easily swap in your favorite cheeses, nuts, or seasonings for different versions.
5. Beautiful presentation
Rolled in chopped nuts, herbs, or spices, it looks elegant on any serving board.
6. Gluten-free friendly
Naturally gluten-free when served with gluten-free crackers or fresh vegetables.
What You’ll Need
You only need a handful of simple ingredients for this easy cheese ball recipe.
For the Cheese Ball:
- 16 oz (2 packages) cream cheese, softened
- 2 cups shredded sharp cheddar cheese
- 1 teaspoon Worcestershire sauce
- 1 teaspoon lemon juice
- 1 teaspoon garlic powder
- 1/2 teaspoon onion powder
- 1/4 teaspoon smoked paprika
- Salt and pepper, to taste
- 1/4 cup chopped green onions (optional)
- 1/4 cup finely diced red bell pepper (optional, for color)
For the Coating:
- 1 cup chopped pecans or walnuts
(You can also use almonds or a mix of fresh herbs for variety.)
For Serving:
- Crackers
- Pretzels
- Fresh vegetables (carrots, celery, cucumber, bell pepper slices)
Step-by-Step Instructions
Step 1: Soften and Mix the Base
Allow the cream cheese to soften at room temperature for about 30 minutes — this ensures it blends smoothly.
In a large mixing bowl, combine the softened cream cheese and shredded cheddar cheese. Using a hand mixer or sturdy spatula, beat until the mixture is smooth and evenly combined.
Step 2: Add Flavor
Stir in Worcestershire sauce, lemon juice, garlic powder, onion powder, smoked paprika, salt, and pepper. Mix until everything is fully incorporated.
If you’d like extra flavor or color, fold in the chopped green onions and diced red bell pepper.
Taste the mixture and adjust seasoning if needed — you want it flavorful but balanced.
Step 3: Shape the Cheese Ball
Lay out a large piece of plastic wrap on your counter. Spoon the cheese mixture into the center and use the wrap to shape it into a ball. Twist the ends of the plastic wrap to secure it tightly.
Refrigerate for at least 1 hour, or until firm. Chilling allows the flavors to develop and makes the cheese easier to handle.
For best results, chill for 2–4 hours or overnight.
Step 4: Prepare the Coating
While the cheese ball chills, place the chopped nuts on a plate or shallow dish.
If you prefer a nut-free version, you can roll it in chopped parsley, dill, or even crushed gluten-free crackers.
Step 5: Roll and Finish
Remove the chilled cheese ball from the refrigerator and unwrap it carefully.
Roll the cheese ball in the chopped nuts until it’s fully coated. Gently press the nuts in to help them adhere evenly.
Once coated, transfer it to your serving plate or board.
Step 6: Serve
Let the cheese ball sit at room temperature for about 10–15 minutes before serving — this softens it slightly for perfect spreading texture.
Serve with your choice of crackers, pretzels, or fresh vegetables for dipping.
Tips for the Best Cheese Ball
- Use room-temperature cream cheese.
This ensures a smooth, lump-free texture when mixing. - Grate your own cheese.
Pre-shredded cheese contains anti-caking agents that can affect creaminess. Freshly grated melts and blends better. - Chill before rolling.
A firm cheese ball holds its shape and makes coating easier. - Add texture and contrast.
Mix-ins like green onions, diced peppers, or herbs add flavor and visual appeal. - Customize the coating.
Try crushed nuts, toasted seeds, or herbs — they add crunch and balance the creaminess. - Let it soften before serving.
A brief rest at room temperature makes the cheese ball spreadable and flavorful.
Flavor Variations
Once you’ve mastered the base recipe, you can create many delicious variations. Here are some favorites:
Savory Options
Bacon Ranch Cheese Ball:
Add 4 slices of cooked, crumbled bacon and 1 tablespoon of ranch seasoning to the mixture. Roll in a mix of chopped bacon and green onions.
Garlic Herb Cheese Ball:
Mix in 1 teaspoon garlic paste, 1 teaspoon dried Italian herbs, and roll in fresh chopped parsley.
Jalapeño Cheddar Cheese Ball:
Add 1–2 tablespoons diced pickled jalapeños and extra cheddar for a spicy kick.
Smoked Gouda Cheese Ball:
Use half cheddar and half smoked gouda for a rich, smoky flavor. Coat in chopped almonds.
Dried Beef Cheese Ball:
Mix in 3 oz chopped dried beef and 1 tablespoon finely chopped green onions. Roll in parsley or crushed nuts.
Sweet Options
Cranberry Pecan Cheese Ball:
Replace cheddar with white cheddar or cream cheese only, and mix in dried cranberries and honey. Roll in chopped pecans.
Pineapple Cheese Ball:
Add crushed pineapple (drained), green onions, and bell pepper. Perfect for a tropical twist.
Serving Suggestions
Cheese balls are incredibly versatile — here are some fun ways to serve them:
1. Party Platter Centerpiece:
Place the cheese ball in the center of a charcuterie board surrounded by crackers, pretzels, nuts, and sliced fruit.
2. Individual Mini Cheese Balls:
Roll smaller portions into bite-sized balls and serve with toothpicks — great for appetizers or buffet tables.
3. Pair with Fresh Produce:
Offer crisp celery, cucumber rounds, and bell pepper slices for a refreshing balance.
4. Use as a Spread:
Smear it on toasted baguette slices, wraps, or sandwiches for a burst of flavor.
5. Holiday Shapes:
Shape into a log for “cheese log” presentation, or form into seasonal shapes (like a pumpkin or wreath) using plastic wrap and garnish accordingly.
How to Store and Reheat
Refrigerator:
Store your cheese ball tightly wrapped in plastic wrap or an airtight container for up to 5 days.
Remove from the fridge about 15–20 minutes before serving to soften.
Freezer:
Yes, you can freeze a cheese ball. Wrap tightly in plastic wrap and foil before freezing for up to 1 month.
Thaw overnight in the refrigerator, then roll in fresh nuts or herbs before serving (since frozen coatings can soften).
Make-Ahead Option
Cheese balls are perfect for preparing in advance.
Simply mix, shape, and refrigerate (uncoated) for up to two days before your event.
When ready to serve, roll in your chosen coating for a fresh, crisp finish.
This make-ahead approach actually enhances the flavor as the ingredients meld together.
Troubleshooting
Cheese ball too soft:
Chill longer or add more shredded cheese to firm it up.
Too firm to spread:
Let it sit at room temperature for 15–20 minutes before serving.
Nuts falling off:
Press the coating gently into the cheese surface so it adheres well.
Lacks flavor:
Increase seasoning slightly or use a sharper cheese blend.
Too salty:
Balance with a bit more cream cheese or add a squeeze of lemon juice.
Frequently Asked Questions
Can I make this without nuts?
Absolutely. Roll the cheese ball in chopped herbs, crushed gluten-free crackers, or crispy bacon bits instead.
What cheese works best?
Sharp cheddar is classic, but you can mix in gouda, pepper jack, Swiss, or blue cheese for different flavors.
Can I use low-fat cream cheese?
Yes, though the texture will be slightly less rich. Full-fat gives the creamiest results.
Can I make it dairy-free?
Yes. Use dairy-free cream cheese and shredded vegan cheese alternatives. Chill thoroughly before shaping.
Can I serve it warm?
Cheese balls are best served slightly softened, not hot. Heating can make them greasy.
How far in advance can I make it?
Up to 2–3 days ahead if kept refrigerated. Just roll in nuts or coating before serving.
Nutrition Information (Approximate per serving – 2 tablespoons)
- Calories: 120
- Protein: 4g
- Fat: 10g
- Carbohydrates: 2g
- Fiber: 0g
- Sugar: 1g
(Nutrition values vary slightly based on the type of cheese and coating used.)
Why This Recipe Works
This classic cheese ball recipe combines the creamy richness of cream cheese with the bold tang of cheddar and the subtle savory depth of Worcestershire sauce and spices. The mix of seasonings ensures a well-rounded flavor, while the nut coating adds a contrasting crunch.
Chilling the cheese mixture allows it to firm up and hold shape, making it easy to roll and serve. The end result is an appetizer that’s creamy, flavorful, and perfectly spreadable — ideal for any occasion.
Tips for Customizing Your Cheese Ball Routine
- Double or halve the recipe:
This recipe scales easily — make smaller portions for intimate gatherings or larger ones for parties. - Use seasonal add-ins:
Cranberries for fall, fresh herbs for spring, or spicy peppers for summer gatherings. - Add visual appeal:
Roll in colorful herbs, nuts, or spices for an eye-catching presentation on appetizer boards. - Serve with a mix of textures:
Offer both crunchy (crackers, nuts) and fresh (veggies, fruit) dippers for balance. - Turn leftovers into spreads:
Blend leftover cheese ball with a bit of sour cream or yogurt to make a creamy dip for sandwiches or wraps.
Final Thoughts
This Classic Cheese Ball is a timeless, versatile recipe that belongs in every home cook’s repertoire. With its rich, creamy texture and customizable flavor options, it’s the perfect centerpiece for any gathering — from casual family nights to elegant holiday spreads.
Simple to prepare, easy to store, and endlessly adaptable, it’s proof that the best appetizers don’t have to be complicated. Whether rolled in nuts, herbs, or bacon, every bite delivers creamy, cheesy satisfaction.
Once you try this homemade version, you’ll never go back to store-bought cheese balls again.
Creamy, savory, and irresistibly delicious — this recipe is a guaranteed hit for every occasion.